

![The Most Expensive Counter APP for Babies [1/2]](https://cdn.hashnode.com/res/hashnode/image/unsplash/71KzaWjdt84/upload/v1645156740292/B3qK7-BkJ.jpeg?w=1600&h=840&fit=crop&crop=entropy&auto=compress,format&format=webp)


Prerequisites
- Metamask browser extension
- Some Rinkeby test Ether (get some from here)
Jump right in
We are going to 👨💻
- write a smart contract ✒️
- Play around with it 😵
- deploy it to Rinkeby testnet 🚀
What is Remix IDE
Remix is used for the entire journey of contract development as well as act as a playground for learning and teaching Ethereum.
Write a smart contract ✒️
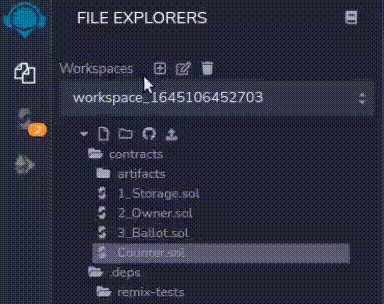
We will learn some basic features of Remix as we go through,Now let's jump right in and create Counter.sol
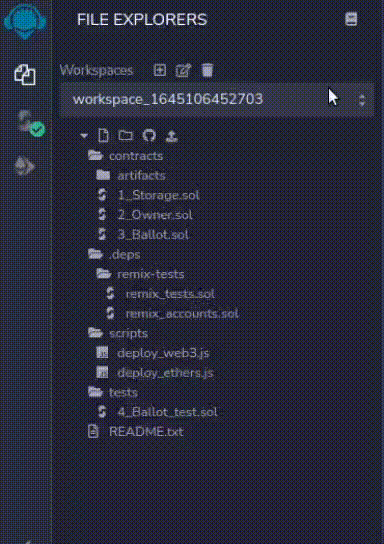
Copy and paste if you are lazy 😉
// SPDX-License-Identifier: Unlicensed
pragma solidity ^0.8.0;

contract Counter{
    uint public count;
    function increment() external{
        count++;
    }
    function decrement() external{
        count--;
    }
}
Lets go through the code
countis a state variable that can have value 0,1,2,...increment()adds 1 withcountat each calldecrement()subtracts 1 fromcountat each call
Piece of cake, right??
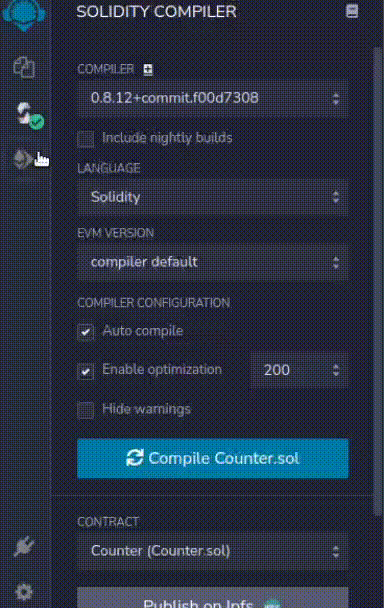
Remix interface
 These are 3 basic options
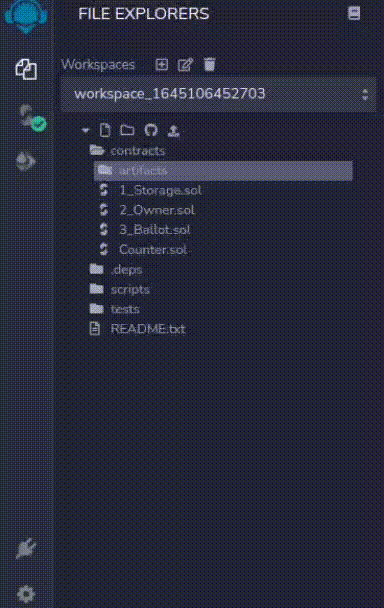
- File explorer : does the usual stuff with files🥴️
- Solidity compiler : compiles .sol file selected on File explorer
- Deploy and run : Deploys the contract so that we can play around with it
Deploy the contract 🚀
Why Different color buttons
To understand this, we need to know some basic stuff
- Blockchain are made up of blocks,Blocks are made up of transactions
- Examples of transactions are sending ETH,changing state variable values
- Transactions require some payment called gas 💸
- blue buttons : Does not cause state changes,it will only return a value stored in the contract ,so it won’t cost you anything in gas fees.
- orange button : Create a transaction and thus cost gas.
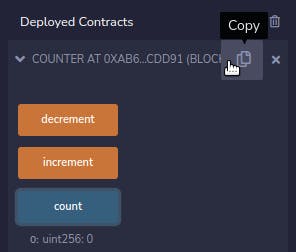
Play around
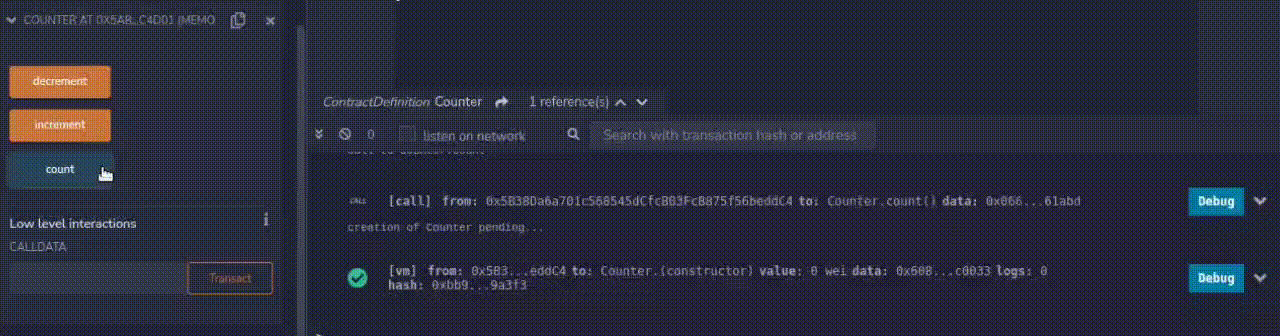
- Those ✅ are indicating transactions
Lets deploy it to Rinkeby Testnet 🚀

- Change ENVIRONMENT to Injected Web3
- Press Deploy
- Confirm the Metamask request
Congratulations you have successfully deployed smart contract to testnet,It'll live there forever 🎉🎉
Finishing things off
 We can make transactions like before,but have to pay some gas to do so,But now all transactions are logged publicly at https://rinkeby.etherscan.io
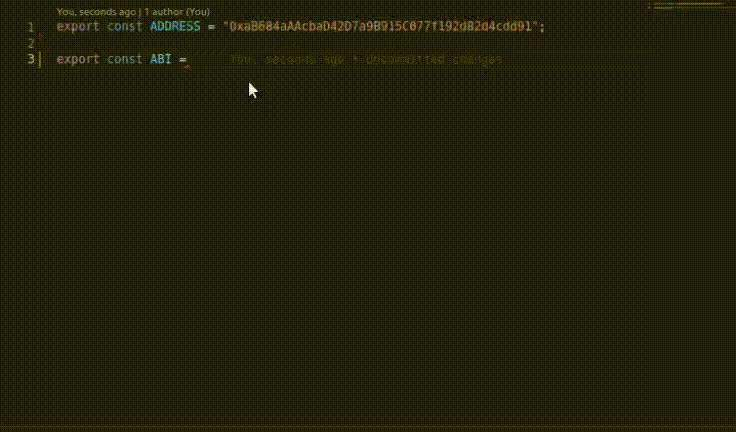
Contract is deployed to address 0xaB684aAAcbaD42D7a9B915C077f192d82d4cdd91
Lets see the transactions at https://rinkeby.etherscan.io/address/0xaB684aAAcbaD42D7a9B915C077f192d82d4cdd91

Copy ADDRESS and ABI
Copy the ABI from Compiler tag
Create a file called const.js and add address and abi to it
Congrats,You've reached to the end,In next part we'll connect this to React frontend. This file will be used to connect frontend to blockchain